
Call This Friday to Get $50 Off
Call This Friday to Get $50 Off
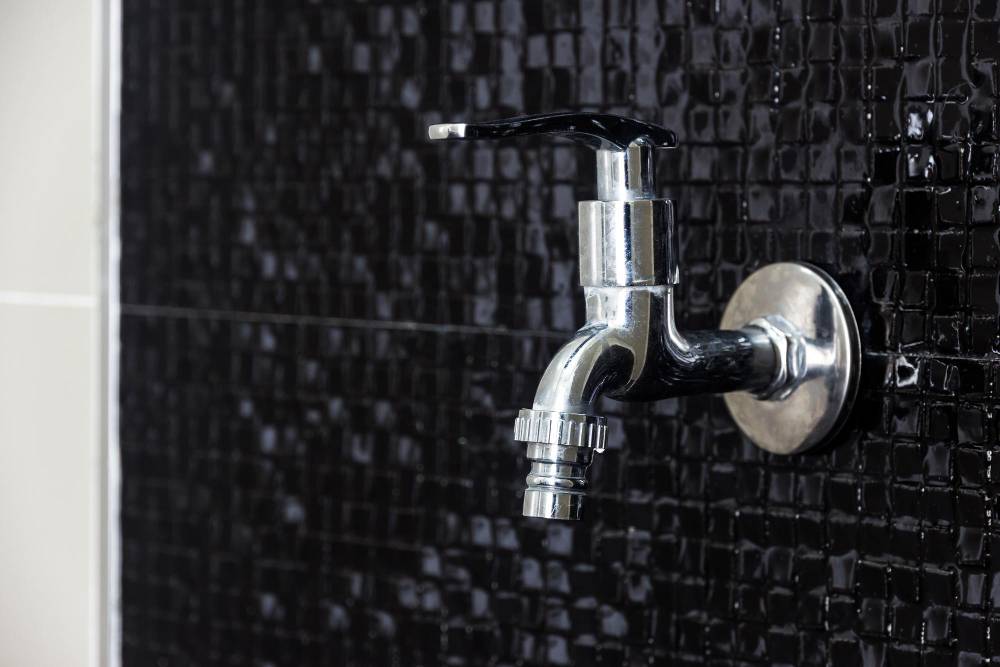
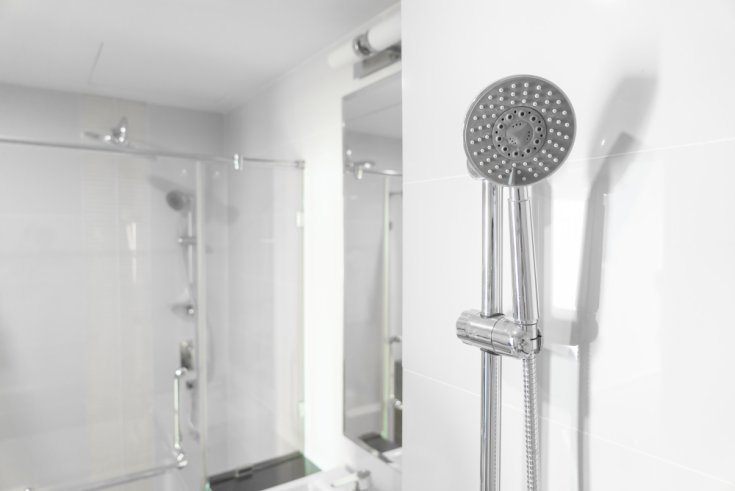
Fixing minor plumbing issues requires DIY know-how. However, a damaged shower valve may require the expertise of a plumber. A professional can find out the problem and conduct repairs or replacements if necessary. If you prefer a more hands-on approach, ensure you can remove caulk, disassemble valves, and even solder. Since there are variations to what may be required, call High Speed Plumbing if you need guidance and professional help. Here are detailed instructions on how to replace a shower valve.
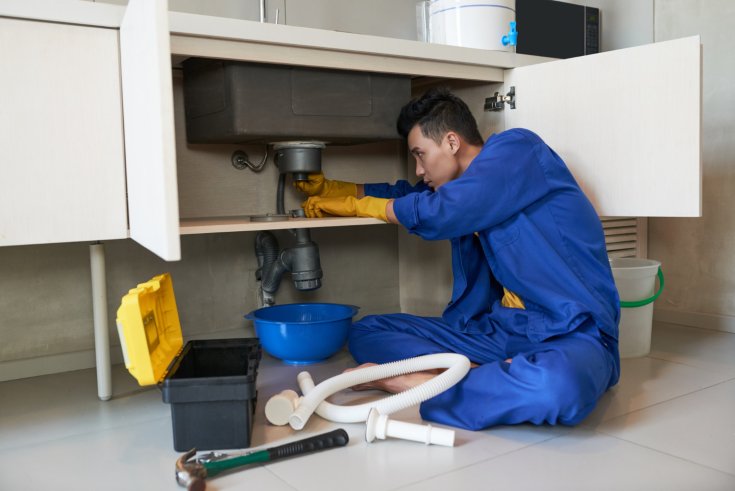
Gathering all the required tools and materials is essential before starting any plumbing project. Replacing a shower valve requires a screwdriver, an adjustable wrench, pliers, a utility knife, a plumber's tape, and a new shower valve. If the plumbing involves copper pipes, you may require a soldering kit. Check your list to ensure you have everything for a smooth replacement. You can access most tools at the local store, but if you don't find everything, hire a trusted plumber to avoid interruptions.
When your water line starts acting up, it can threaten your home with unexpected leaks or…
Read More
Whether you’re stepping into an unexpectedly cold shower or noticing unusual sounds from your heater, it's…
Read More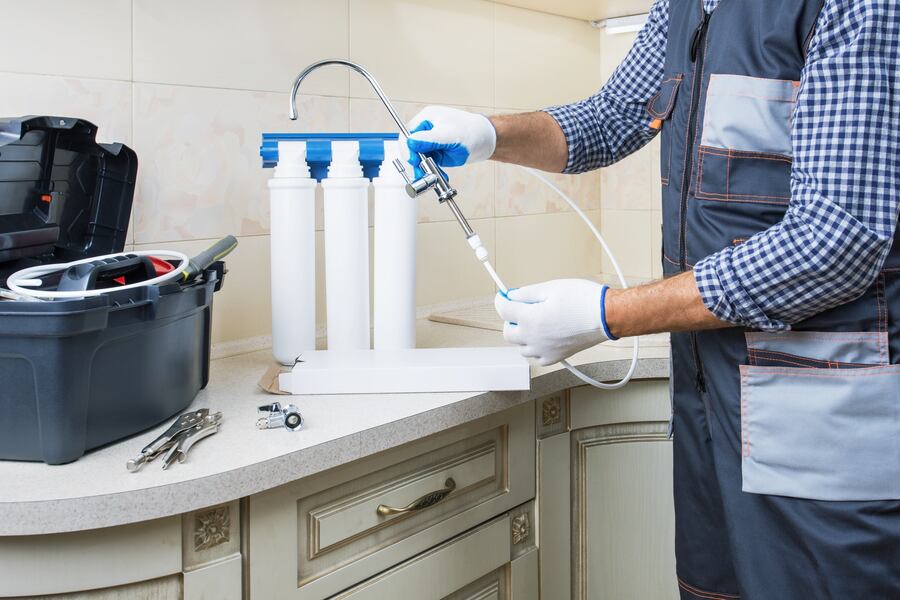
If you want to protect your home and family’s health, the water you drink, cook with,…
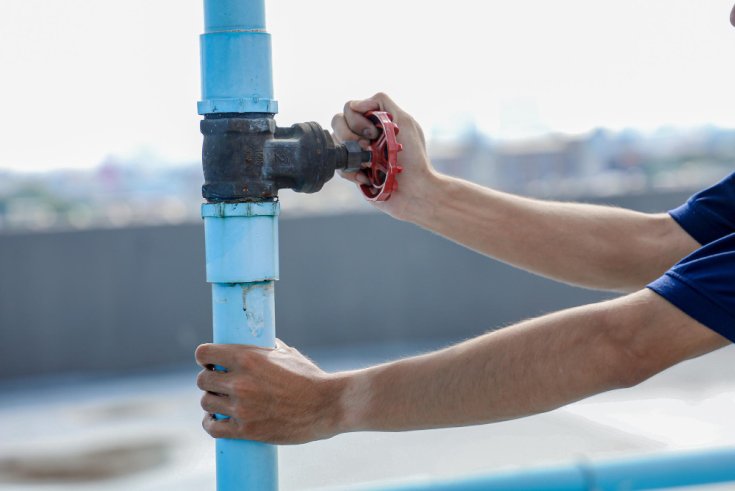
Read MoreSafety is vital in any improvement project, and replacing a shower valve is no exception. Turn off the main water supply to your home to prevent water from flooding your bathroom when you remove the old valve. After shutting off the water supply, open the shower faucet to drain any remaining water from the pipes. It's also advisable to turn off the water heater to avoid accidental scalding. If you can't locate the main water supply, check the building's blueprints or onboard a plumbing service expert.
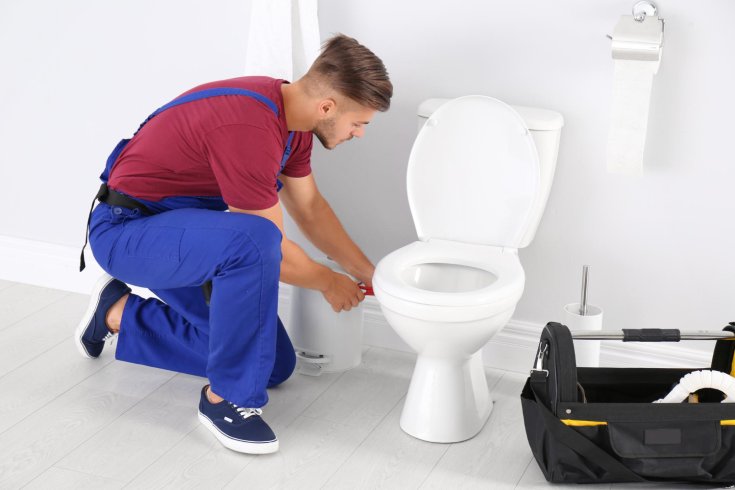
Remove the shower handle and trim plate to access the old valve. Use a screwdriver to unscrew these components, and carefully set them aside. If there's caulk or grout around the trim plate, use a utility knife to cut through it. Once you've removed the handle and trim, use an adjustable wrench to loosen and remove the valve. Some water may spill out, but this is not a cause for concern. Place a bucket and towels around the work site to avoid spills and other water-related issues.
Once you remove the old valve, inspect the plumbing for any signs of damage or corrosion. Clean the area thoroughly to ensure a proper seal when you install the new valve. As mentioned, plumbing with copper pipes may require soldering, so consider working with a plumbing service expert to ensure the new connections hold. Apply the plumber's tape to the new valve's threads to form a watertight seal.
Now it's time to install the new valve. Position the new valve in the plumbing and ensure it is aligned correctly. Use an adjustable wrench to tighten the valve securely. If soldering is required, carefully heat the connections with a torch and apply solder until it flows smoothly into the joints. Let the connections cool before reattaching the trim plate and handle firmly.
Lastly, turn the water supply back on and test your new shower valve. Check for leaks around the connections and ensure the valve operates smoothly. If you notice any leaks, turn off the water supply again and tighten the connections as needed. Recurring leaks may show a more severe underlying problem, which should be handled by a plumbing repair service expert.
Replacing a shower valve can be a complex task that involves various skills. However, following these steps carefully can help you achieve a successful installation. Remember, if you feel unsure or encounter unexpected issues at any point, call a professional plumbing repair service. Contact High Speed Plumbing today and schedule a consultation with our experts. We provide exceptional services, including installations and repairs, at competitive rates.
The toilet is one of the hardest working fixtures in your home, silently handling thousands of…
Standing under a shower-head that barely produces enough water pressure to rinse off shampoo properly is…

Keeping your plumbing system in top shape requires more than just a plunger and a little…
Kitchen waste disposal is more than taking out the trash; it is a lifestyle shift toward…
Water is life. This is reality, as we rely on this vital resource for everyday activities,…
As a homeowner, maintaining water quality is a top priority for enhanced safety and health. Whether…
